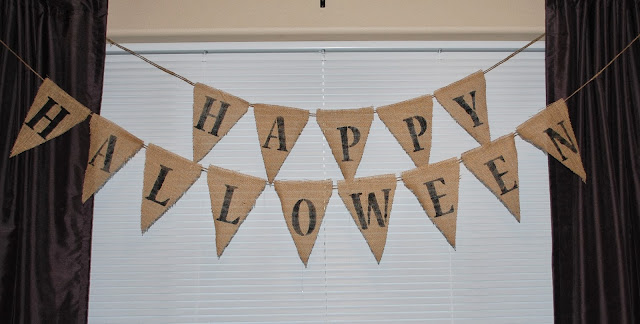
I decided to make a Happy Halloween pendant to go with my more darker, skulls and crossbones Halloween decor. As opposed to my bright and happy candy corn decor. And while I was at it I made a Thanksgiving pendant too. I figured burlap is pretty thanksgivingish, right? Plus, I don't have any Thanksgiving decor and I like to have a little something for most holidays.
Burlap - 1 yard was enough for me
Scissors
Black Acrylic Paint
Paint Brush
Letter Stencils - Mine were 4 inch letters
Twine
Glue - I used a hot glue gun
Steps:
1. Make a template for the pendant. I found the largest letter I would be using, for me it was 'W' and went from there.
2. Determine how many letters you will need. I needed 26 for both Happy Halloween and Happy Thanksgiving, using the 'Happy' only once. I like to write out the letters I need and then cross them out as I finish them.
H A P P Y - 5
H A L LO W E E N - 9
T H A N K S G I V I N G - 12
Total - 26
3. Trace your template on the burlap and cut out all your pieces.
4. Grab your stencils, black paint and brush and stencil your letters onto the burlap.
5. Let dry and then lay out your words and glue to your twine. Make sure to measure your twine so its long enough.
6. Hang up and enjoy.
One week until Halloween...I don't have much time left to finish Parker's costume.
Happy Champagne Thursday!
Cheers!


No comments:
Post a Comment